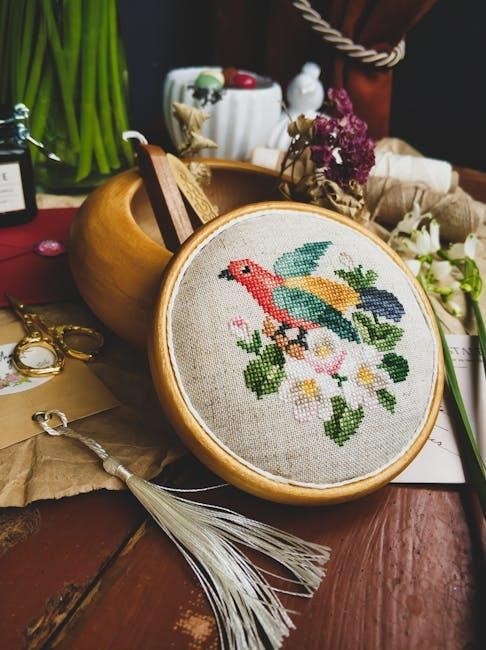
Needlepoint stitch guides are essential tools for both beginners and experienced stitchers, offering step-by-step instructions for mastering various stitches and techniques. These guides provide detailed diagrams, symbols, and material recommendations, helping crafters create intricate designs with precision and confidence. Whether digital or printed, they serve as invaluable resources for bringing needlepoint projects to life.
What Are Needlepoint Stitch Guides?
Needlepoint stitch guides are detailed instructional resources that provide step-by-step directions for executing specific stitches and techniques in needlepoint projects. They often include diagrams, charts, and written explanations to help stitchers understand how to create intricate designs. These guides can be digital downloads or printed materials and are designed to accompany hand-painted canvases or custom projects. They typically outline the sequence of stitches, thread recommendations, and tips for achieving the desired texture and appearance. Whether for beginners or experienced stitchers, needlepoint stitch guides serve as invaluable tools for mastering various techniques and ensuring precise, professional-looking results. They are essential for bringing needlepoint designs to life with accuracy and creativity.
Importance of Stitch Guides in Needlepoint
Stitch guides are indispensable in needlepoint, serving as comprehensive resources that ensure precision and creativity in stitching. They provide clear instructions, helping stitchers master various techniques and achieve consistent results. By following these guides, crafters can minimize errors and confidently execute intricate designs. Stitch guides also empower stitchers to experiment with different threads and fabrics, understanding how they impact the final appearance of a piece. They are particularly valuable for beginners, offering a structured approach to learning, while also providing inspiration and technical insights for experienced stitchers. Ultimately, stitch guides enable the creation of professional-quality needlepoint projects, making them an essential tool for anyone looking to elevate their stitching skills and bring their designs to life with precision and flair.
How to Choose the Right Stitch Guide
Selecting the appropriate needlepoint stitch guide involves considering your skill level, project type, and design complexity. Beginners should opt for guides with clear diagrams and basic stitches, while experienced stitchers can explore advanced techniques. Ensure the guide aligns with your project’s theme, whether it’s for stocking tags, custom designs, or intricate patterns. Look for guides that include material recommendations, thread color charts, and step-by-step instructions. Digital or printed formats offer convenience, so choose based on your preference. Additionally, consider guides from reputable instructors or designers, as they often provide tested and refined methods. Customization options, such as adjustable stitches or alternative thread suggestions, are also valuable. Reading reviews or previewing samples can help you make an informed decision. Finally, ensure the guide is easy to follow and enhances your stitching experience.
Popular Needlepoint Stitches
Popular needlepoint stitches include the Diagonal Chevron Stitch, offering a braided effect, and various textures like Gobelin and Basketweave, enhancing designs with versatility and beauty.
Basic Stitches for Beginners
Mastering basic needlepoint stitches is the foundation for any successful project. The Tent Stitch, often considered the simplest, is great for covering large areas and creating smooth backgrounds. The Continental Stitch is another essential, worked in a straightforward manner, ideal for beginners. The Gobelin Stitch, while slightly more complex, teaches stitchers to work diagonally, enhancing texture. Each of these stitches is perfect for building confidence and developing the muscle memory needed for more intricate designs. Starting with these basics ensures a strong understanding of needle placement and thread tension. Practice these stitches on scrap canvas to refine your technique before moving to your main project. This approach helps build a solid skill set, making the transition to intermediate stitches seamless and enjoyable.
Intermediate Stitches for Skill Development
Intermediate needlepoint stitches are designed to enhance your projects with texture and visual interest while refining your skills. The Diagonal Chevron Stitch is a popular choice, creating a dynamic, slanted pattern by working stitches in opposing diagonal directions. This stitch is versatile and can be customized with alternating colors for a vibrant effect. Another intermediate stitch is the Gobelin Stitch, which involves working stitches diagonally across the canvas, creating a textured, woven appearance. These stitches are perfect for transitioning from basic to advanced techniques, allowing you to explore more complex designs. Practice these stitches on scrap canvas to master their unique rhythms and tensions. By incorporating intermediate stitches into your repertoire, you’ll expand your creative possibilities and prepare for more intricate patterns in future projects;
Advanced Stitches for Complex Designs
Advanced needlepoint stitches are designed for experienced stitchers seeking to create intricate and visually striking designs. The Diagonal Chevron Stitch becomes even more sophisticated when worked in multiple colors or directions, creating layered, dimensional effects. Another complex stitch is the Encroaching Gobelin, which involves layering stitches to achieve a textured, three-dimensional appearance. For those looking to add metallic flair, the Threaded Running Stitch with silk or metallic threads can enhance detail work. These stitches are ideal for intricate backgrounds, motifs, and borders, offering unparalleled creativity. Mastering advanced stitches requires patience and a steady hand, but they elevate projects to professional-quality artistry. Practice these techniques on scrap canvas to refine your skills before incorporating them into final designs.
Materials and Tools for Needlepoint
Needlepoint requires sturdy canvas, quality threads, and suitable needles. Choose mono, interlock, or mini canvas. Use wool, silk, or metallic threads. Essential tools include tapestry needles, scissors, and frames.
Threads and Yarns: Selection and Usage
Choosing the right threads and yarns is crucial for needlepoint. Wool, silk, and metallic threads are popular options, each offering unique textures and visual effects. Wool yarns provide durability and a soft finish, ideal for backgrounds and details. Silk threads add a luxurious sheen, perfect for intricate designs. Metallic threads enhance projects with a touch of elegance and shimmer. When selecting, consider the project’s complexity and desired aesthetic. Proper thread usage involves cutting manageable lengths and stitching smoothly to avoid tangling. Experimenting with different materials can elevate your work, ensuring each stitch stands out with the perfect blend of color and texture.
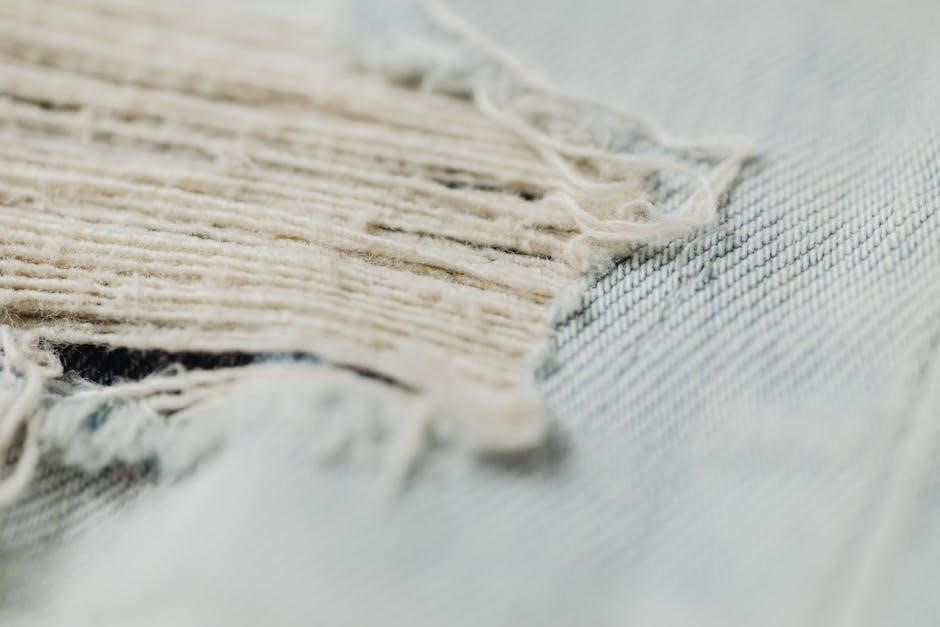
Canvas Types: Mono, Interlock, and Mini
Needlepoint canvas comes in various types, each suited for different projects. Mono canvas is the most common, featuring a single weave mesh that allows for precise stitching and detailed designs. It is ideal for beginners and intricate patterns. Interlock canvas has a double weave, making it sturdier and less prone to stretching, perfect for larger or more complex projects. Mini canvas, with its tightly woven mesh, is designed for small, delicate designs, such as ornaments or accessories. Choosing the right canvas type ensures stability and ease of stitching, helping to bring your needlepoint creations to life with clarity and precision. The canvas serves as the foundation, so selecting the appropriate type is essential for achieving professional results.
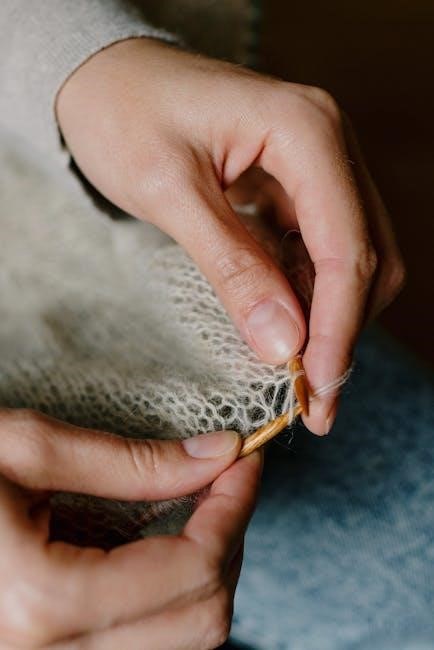
Needles: Choosing the Right One for Your Stitch
Selecting the appropriate needle for needlepoint is crucial for achieving smooth, even stitches. Tapestry needles are the most common choice, featuring blunt tips to prevent canvas damage and large eyes for easy thread handling; The needle size should match your yarn thickness—larger needles for heavier yarns and smaller ones for finer threads. Blunt-tipped needles are ideal for canvas work, while sharp needles are better suited for fabric. Durable materials like stainless steel or gold-plated needles offer longevity and resistance to corrosion. A comfortable needle fit in your hand reduces stitching fatigue. Experiment with different types to find the one that enhances your stitching experience and ensures precise, professional-looking results for your needlepoint projects.
How to Read Needlepoint Charts
Needlepoint charts use symbols and colors to guide stitching. Each symbol represents a specific stitch, and colors indicate thread choices. The grid aligns with canvas holes, helping you place stitches accurately. Understanding the legend is key to interpreting the chart effectively for your project.
Understanding Symbols and Colors
Needlepoint charts rely on symbols and colors to guide stitchers. Each symbol represents a specific stitch, while colors indicate the thread or yarn to use. The chart’s legend explains these symbols, ensuring clarity. For example, a diagonal line might denote a tent stitch, and a circle could indicate a French knot. Colors are often coded to match thread brands or collections. By aligning the chart’s grid with the canvas, stitchers can accurately place each stitch. Consistency is key, as variations in symbols or colors can alter the design. Understanding this system allows stitchers to interpret patterns confidently, whether working on basic or complex projects. This visual language makes needlepoint accessible and ensures precise execution of designs.
Counting Stitches and Grid Alignment
Accurate counting and grid alignment are crucial for needlepoint success. Each chart features a grid where squares correspond to stitches on the canvas. Stitchers must align the chart’s grid with the canvas, typically starting from the center to avoid distortion. Counting stitches in both directions ensures symmetry and balance. Small errors in counting can lead to misalignment, so patience and attention are key. Using a needlepoint hoop or frame can help maintain tension and visibility. Many guides recommend marking the canvas center with a thread to guide alignment. Proper counting ensures the design fits the canvas and looks professional. With practice, stitchers develop the skill to count stitches intuitively, making the process smoother and more enjoyable. This fundamental step is essential for achieving precise, visually appealing results in any needlepoint project.
Tips for Following Stitch Guides
Following needlepoint stitch guides effectively requires patience and organization. Begin by thoroughly reviewing the guide to understand the pattern and materials needed. Start stitching from the center of the canvas to maintain symmetry and reduce distortion. Use a needlepoint hoop or frame to keep the canvas taut, ensuring even stitches. Keep threads and yarns well-organized, labeling them according to the guide. Work in small sections, completing one area before moving to the next, to avoid confusion. Count stitches carefully and double-check alignment with the grid. If unsure, refer to diagrams or tutorials for clarification. Practice basic stitches before tackling complex ones, and don’t hesitate to adjust tension or colors as needed. Regularly review your work to catch errors early, ensuring a polished finish. Patience and attention to detail will enhance your stitching experience and results.

Stitch Guides for Specific Projects
Stitch guides are tailored for specific projects, offering detailed instructions for designs like stocking tags or small canvases, ensuring precise results and unique, customizable effects.
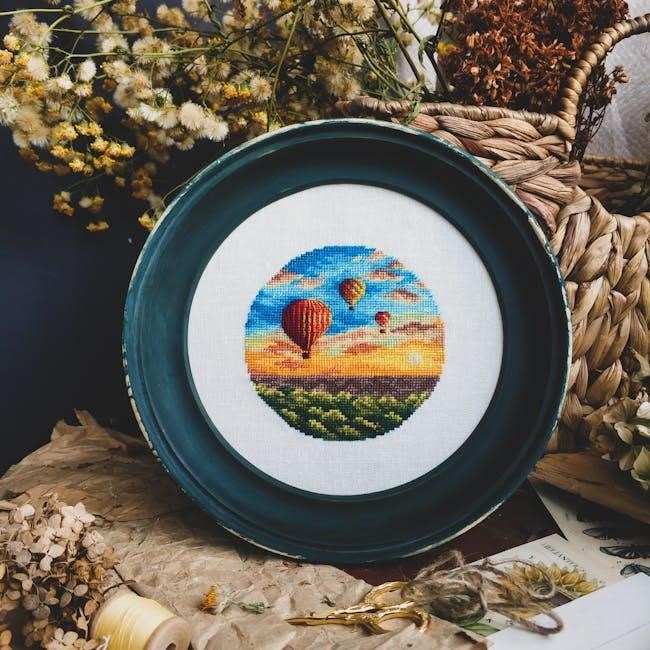
Stocking Tags and Small Designs
Stitch guides are particularly useful for creating intricate stocking tags and small needlepoint designs. These guides often include detailed charts for small-scale projects, allowing for precise stitching and customization. Many guides feature specific fonts and layouts, such as small script options, to personalize tags with names or messages. They may also include sample charts for inspiration, helping stitchers achieve professional-looking results. Whether for holiday-themed tags or mini canvases, these guides provide step-by-step instructions to ensure every stitch aligns perfectly. They cater to all skill levels, offering a seamless way to craft unique and elegant designs. By following these guides, crafters can effortlessly create beautiful, personalized pieces that stand out.
Customizing Stitches for Unique Effects
Customizing stitches allows needlepoint enthusiasts to add personal flair to their projects. Stitch guides often provide tips for altering techniques to achieve unique textures and visual effects. For instance, the diagonal chevron stitch can be worked in alternating colors or with varying thread types to create dynamic designs. Experimenting with thread weights, such as mixing silk and metallic yarns, can enhance the dimensionality of a piece. Guides may also suggest layering stitches or adjusting tension for intricate details. These modifications enable stitchers to transform basic patterns into one-of-a-kind creations, making their work truly stand out. By exploring these customization options, crafters can infuse their personality into every stitch, ensuring their needlepoint projects are both original and captivating.

Online Resources for Needlepoint Stitch Guides
Explore websites like Etsy, Morgan Julia Designs, and Needlepoint.com for digital downloads, detailed charts, and step-by-step instructions. These platforms offer free and purchasable guides to enhance your stitching journey.
Free Stitch Guides and Charts
Free needlepoint stitch guides and charts are widely available online, offering a cost-effective way to explore various stitches and techniques. Platforms like Etsy, Morgan Julia Designs, and needlepoint-specific websites provide downloadable PDFs featuring detailed diagrams, symbols, and color codes. These guides often include step-by-step instructions, making them ideal for stitchers of all skill levels. Many free charts are designed for small projects, such as stocking tags or ornaments, while others focus on teaching basic or intermediate stitches. Some resources include multiple chart variations, such as symbol-only or color-block versions, catering to different learning preferences. Whether you’re a beginner or an experienced crafter, free stitch guides are a great way to practice and expand your stitching repertoire without financial investment.
Purchasing Digital and Printed Guides
Purchasing digital and printed needlepoint stitch guides offers access to comprehensive resources for stitchers. Digital guides, often available as downloadable PDFs, provide instant access to charts, diagrams, and instructions. Platforms like Etsy and specialized needlepoint shops offer a wide range of guides, from basic stitches to complex designs. Printed guides are ideal for those who prefer a tactile experience, often featuring high-quality images and detailed step-by-step instructions. Many guides include materials lists, thread recommendations, and color codes, ensuring stitchers have everything needed to complete their projects. Whether digital or printed, these guides are invaluable for mastering specific stitches or tackling intricate designs. Purchasing from reputable sources ensures quality and accuracy, helping stitchers achieve professional-looking results.

Final Tips for Mastering Needlepoint Stitches
Mastering needlepoint stitches requires consistent practice, starting with simple stitches and gradually exploring complex techniques. Experiment with threads and fabrics to enhance stitch appearance and texture.
Practice and Experimentation
Practice is key to mastering needlepoint stitches. Start with simple stitches and gradually explore more complex techniques, allowing yourself to experiment freely. Use a scrap canvas or dedicated practice area to test stitches without worrying about perfection. Experimentation with different threads, yarns, and fabrics can reveal unique textures and effects, enhancing your designs. Don’t fear mistakes—they often lead to creative breakthroughs. Keep a stitching journal to track your progress and note what works best for you. Regular practice builds muscle memory and confidence, helping you refine your skills over time. Embrace the process, and remember, every stitch brings you closer to mastering the art of needlepoint.
Troubleshooting Common Mistakes
Common mistakes in needlepoint often stem from miscounting stitches, improper thread tension, or using the wrong needle size. To avoid misalignment, regularly count your stitches and ensure your canvas stays taut using a hoop or frame. If stitches are too loose or tight, adjust your thread tension by gently pulling the yarn as you stitch. Using the wrong needle size can damage the canvas or threads, so always choose a needle that fits comfortably through the mesh. Mistakes can be easily fixed by carefully removing stitches and reworking the area. Keep a stitch guide handy to reference proper techniques, and don’t hesitate to seek tips from experienced stitchers or online resources. Learning from mistakes is part of the process, and they often lead to improved skills over time.
Stitch Guides for Experienced Stitchers
Stitch guides for experienced stitchers offer advanced techniques and complex designs, allowing for greater creativity and precision. These guides often feature intricate patterns, specialized stitches, and tips for customizing projects. They may include detailed instructions for unique effects, such as blending colors or creating textured elements. Experienced stitchers can explore new challenges, like layering stitches or experimenting with unconventional materials. Many guides also provide inspiration for adapting stitches to suit personal style or project requirements. Whether refining skills or exploring innovative methods, stitch guides tailored for experienced stitchers are invaluable for pushing the boundaries of needlepoint artistry and achieving professional-quality results.